Showing posts with label GEE WHIZ Tutorial. Show all posts

Wednesday, September 3, 2014

Plate Stand!

How to Make this....

˙MOD POGE (MY FAVORITE!!!!)
˙Paint brush˙PLAIN glass plates/Little pitcher/Carafe for the base˙E-6000˙Glitter blast Spray˙Paint to match your glitter blast
˙BAD ASS Image for your plate
˙Scissors
˙Little Doo-hickies for showing off!


Now, We Start!
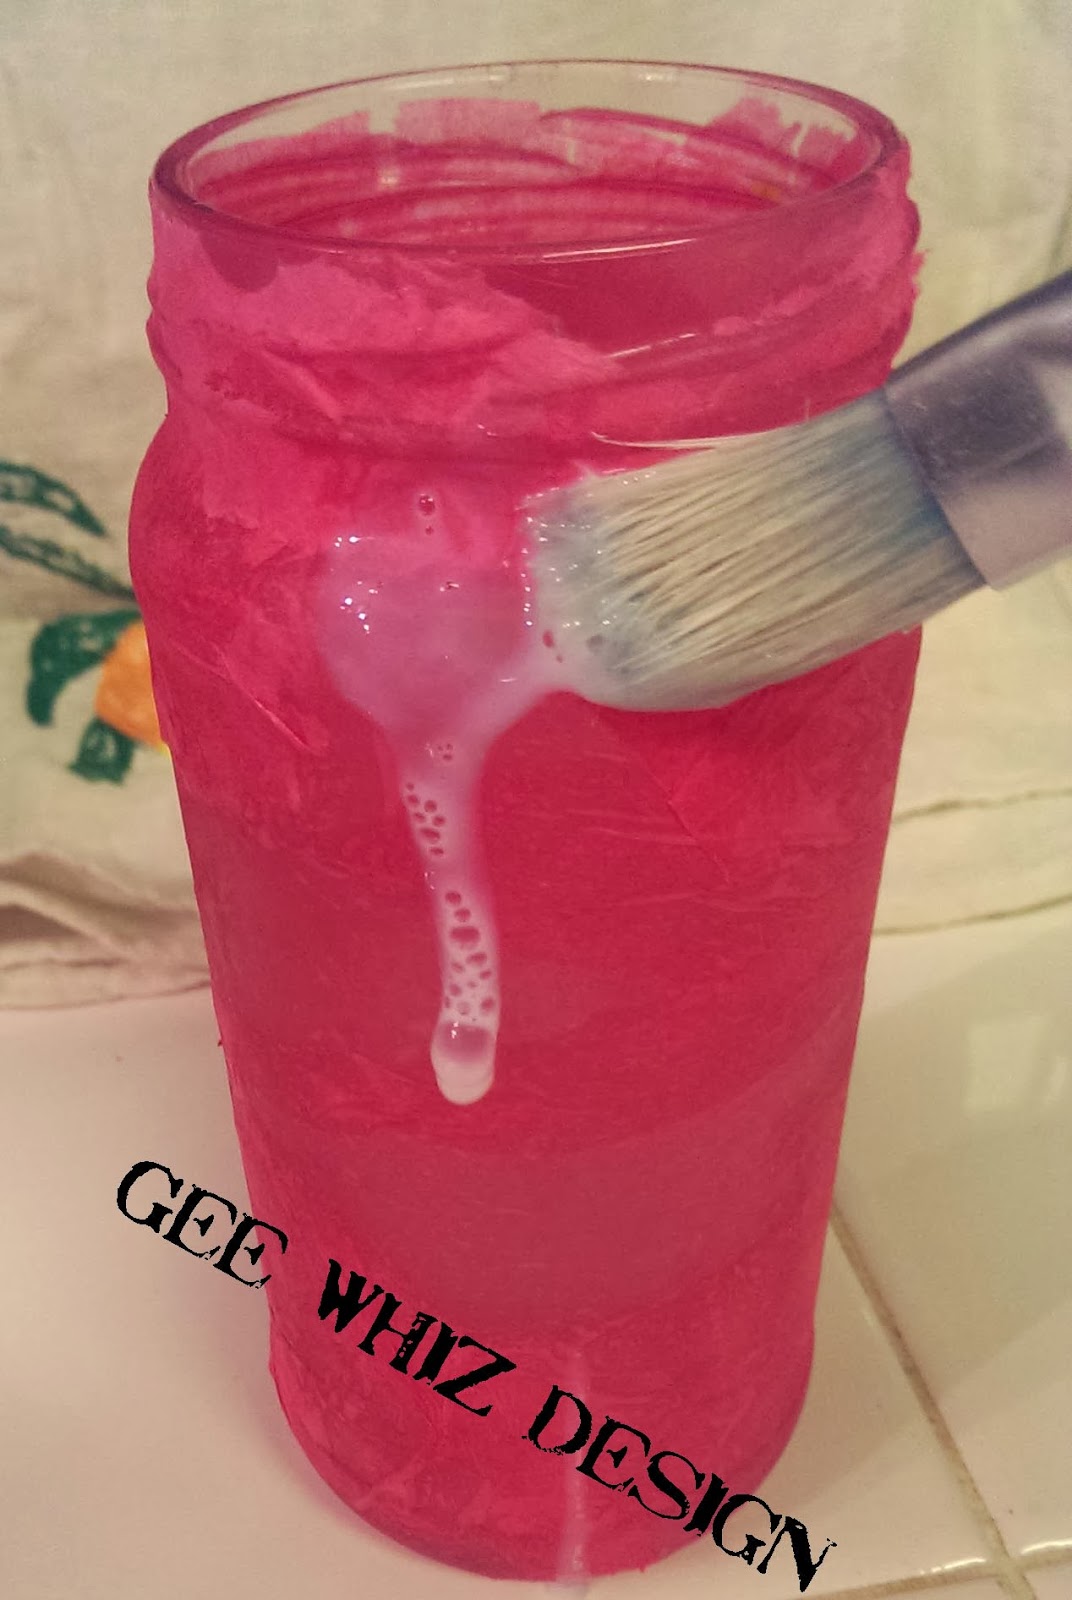
Cut out your image, and MOD PODGE it to the back of your plate…

Let dry for about 15 mins…
(Don't worry, it will all be covered up in reverse!)


While its drying, fill up your little base with your findings!!! (SO FUN)


After your plate has dried, now SPRAY!!! 
GLITTER that UP!!!!


(As you can see, It is kind of "Spotty", 
so thats why you paint the back the SAME color as your glitter…)

˙WATCH˙


•BEEEAUTIFUL•


When you E-6000 the base to the plate, make sure you have something HEAVY on it!


All Done!
Look at the NEAT stuffings!


Ain't She a BEAUT!


Monday, January 27, 2014

DIY Glass Jars into BAD ASS Vases!

Are YOU like ME and don't have the heart to throw away your Spaghetti Sauce/Salsa Jars after you're done? Do you wash them and stick them into a cabinet for Lord know WHY?  Well, My Hoarding Friend… I've got a SOLUTION!!!


All you need is:
•Tissue Paper (For gift wrapping)
•Your jar(s)
•Some watered down glue
•A paint brush
•An image you'd like to forever smile at
Glue Gun
•(OPTIONAL….Glitter, accents, etc…)


Tear pieces apart… (There are no Mistakes…)


Mix in Water with your glue...


Paint on a THIN layer onto your glass piece for your starting off point…


add one of the TORN pieces and brush on MORE of your Glue water

KEEP GOING…


LAYER and LAYER until all covered...


NOW… Let dry for about a couple of hours….

Pick your image… (I LOVE pre and post GEMMA ;) )


~~~Brush on… REMEMBER THIN layers~~~


Let dry for about an hour or so, just keep an eye on it...


Then....
 ~~~WE DECORATE~~~


I LOVE a good *BLING* Border!


WAH LAH!!!!!! 
Stick some flowers in there and you have yourself a WINNER!!!!


When you do this project, LEAVE a comment with which jar/image you used!!!

HAVE FUN GEE WHIZERS!


Monday, March 18, 2013

Stacey's Wonderland

Hello all of you ALICE in WONDERLAND(ers)

I have been working on a VERY Beautiful lady’s SWEET SIXTEEN Party, and Saturday (March 16th,2 013) was the BIG day of CELEBRATION!!!

Total, From Concept to final projects, I came up with some very Spiffy Projects with a VERY fun theme.

“Stacey’s Wonderland”


Welcome to Stacey's Wonderland!

She LOVES the Cartoon, (Who doesn’t) so I came up with 3 different character themes for each center piece.

A total of 18 tables, so 6 Centerpieces of each character....

The Characters she chose to represent was

*The Queen of Hearts
*The Cheshire cat
And

*The Mad Hatter’s Tea Party!!!

Queen of hearts:

Splattered white roses with Red Paint 


(PAINTING the roses Red)


 Cheshire Cat:


Mad Hatter's Tea Party:


Made a Mess!!!


Candle sticks glued together!


BLINGED OUT TEA Party!!!


CANDY makes you DANDY Candy Bar!!


"Open Me" Invite :)


Her Bouquet...

Started off as a sphere and some dowels!!!

And I WENT TO TOWN!!!


The Miss BEAUTY!

This was such a rewarding experience for me, and I will forever cherish my time spent on all of this Wacky WONDERLAND!!!!!